The primary backup the window gives you access to all the vital module functions - to facilitate several functions like managing backup profiles, restoring files, and accessing the saved data directly.
Add to Backup: It helps you add the file you have chosen to
your backup profile; it asks you to select one if you have too many.
Start Backup: It helps you run the chosen Back up profile.
Manage Profiles: It allows you to make changes in the Backup
profiles and convert them according to your particular requirements.
Restore: It helps you start the Restore guide that
gives you the authority to retrieve the backed-up data.
Settings: It helps you launch a new section to
where you can select if BullGuard runs customized backups or restores tasks.
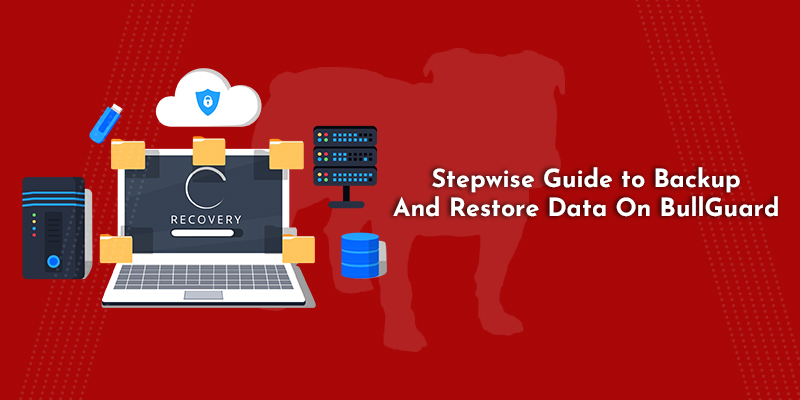
Introduction to BullGuard Backup
BullGuard Backup is
the advanced online backup solution to keep your electronic valuables safe, as
it gives you the authority to retrieve and access all the things, regardless of
the possible outcomes that can affect your computer.
Backup is simply the
copies of important information which you don’t want to risk losing. The most
convenient way to take the backup is by creating an online backup. In case you
store your documents online, they will be sealed in protection from any type of
damage to both your PC and networks.
Setting up the Backup profiles
Including the
customized files or e-mail backup profiles, you can generate backups for the
Windows common locations like the Documents folder, Photos, Music, Videos, and
more.
To set up your backup
profiles, tap on the drop-down menu options from the Backup tab in the main app
and screen and select the Manage Profiles option. It will
direct you to the backup profiles window. In case you already have an existing
profile, you can choose it from the list on the left side and change its
settings by using options given on the right side of the window. Or You can
follow these straightforward steps to create a new backup profile:
1.
Once you tap on the
Add the Profile button, you will see a field where you can enter the new profile’s
name. Tap Add to create a new profile.
2.
Select the type of
data you want to back up by checking one or more of the options on the right side from the What tab.
1.
Remember that while
you select Documents, Photos, Music, Videos, or Desktop. BullGuard will look
for the files in the default locations of your operating system. In case you
have stored files in different locations that you want to back up, select the Other
files or folders option and add them up by the manual method of
tapping the cursor over the Edit button near the option.
2.
Edit: This button helps you to launch the new
window, allows you to edit the backup profile characteristics.
3.
Add: It helps you open a fresh window that allows
you to select files or folders you want to include in the backup profile.
4.
Select
filters: This button helps you
in defining a particular type of filter, so BullGuard will only take the backup
of the required files and folders, which eventually saves your time and space.
3.
This step requires you
to select the location you want to store the backup in from the Where tab.
You can store the backup on various productivity tools like Dropbox, One
Drive, or Google Drive, on a CD/DVD, on the local
PC (with the help of an external hard disk), or on a network
location.
(Note: Taking the
backup from files into Dropbox, One Drive, or Google Drive requires an account
associated with that productivity tool. In case you don’t have any, create one
through the BullGuard Backup interface.)
1.
The Backup profiles
can be taken by a schedule, either be started by using the manual options when
the conditions look suitable for you or to back up important files on a regular
basis avoiding data loss. It can be performed using the When tab.
2.
The How tab
(advanced backup settings) gives you the authority to perform tasks like
customizing your profile by including special features like encryption,
versioning, and backup compressing, etc.
The profile will now
come in the profile list accessible from the Manage profile folder.
Restore Your Data With BullGuard
The Restore feature
gives you the authority to retrieve the data you have saved in the backup
storage and copy it to its previous location you have taken the back up from or
to another location on your PC.
For restoring the
data, you will have to read the restore guide that offers you the authority to
select the data type, location, and folder where you want the data restored.
You can start the process to restore the data by tapping the cursor over the
Restore your data option from the drop-down options of Backup available in the
main BullGuard interface. Here are the steps to complete the restoration
process:
1.
Once you tap the
cursor on the Restore button, you will be requested to choose the
location where the files have been previously backed up- local or an online
drive. Tap on Next after choosing the right location.
2.
In case you chose a
local/network computer or driver, you will have to browse to the location of
the backup. For files you have saved as a backup in Dropbox, you will have to
perform authentication to your Dropbox account and then search to the file’s
location. Tap the cursor on Next to continue.
3.
In the fresh window,
you will have to choose the files and folders that you need to restore. Tap
Next in case, you have completed selecting the files to restore.
4.
In the new tab, you
will have to choose a location to save the retrieved files. Tap the cursor over
the start button to have BullGuard retrieve your data.
Please try not to
disturb the retrieval process until the successful completion. When the
Restoring process is complete, you will get the notification by opening the
message center using the algorithm: Message Centre > Backup >
Activity.
Source: Software Blogs Web


No comments:
Post a Comment